


When it comes to getting ready for the Christmas and New Years parties, the dress, hair and make-up top the list of getting-ready priorities. Nails are usually rushed or given the quickest coat of something that'll kind of go with your outfit, whilst hoping they don't smudge as you pull up your tights.
But your nails can actually be one of the best and yet cheapest accessories to your outfit, and if you do something a little creative with them, you'll be getting compliments left, right and center.
A lot of nail art out there looks pretty tricky and time consuming, so I've come up with a really quick and easy take on a french mani that requiring you have a sequin varnish, can be adapted to whatever you have in your collection.

What you'll need:
What you'll need:
A nail file
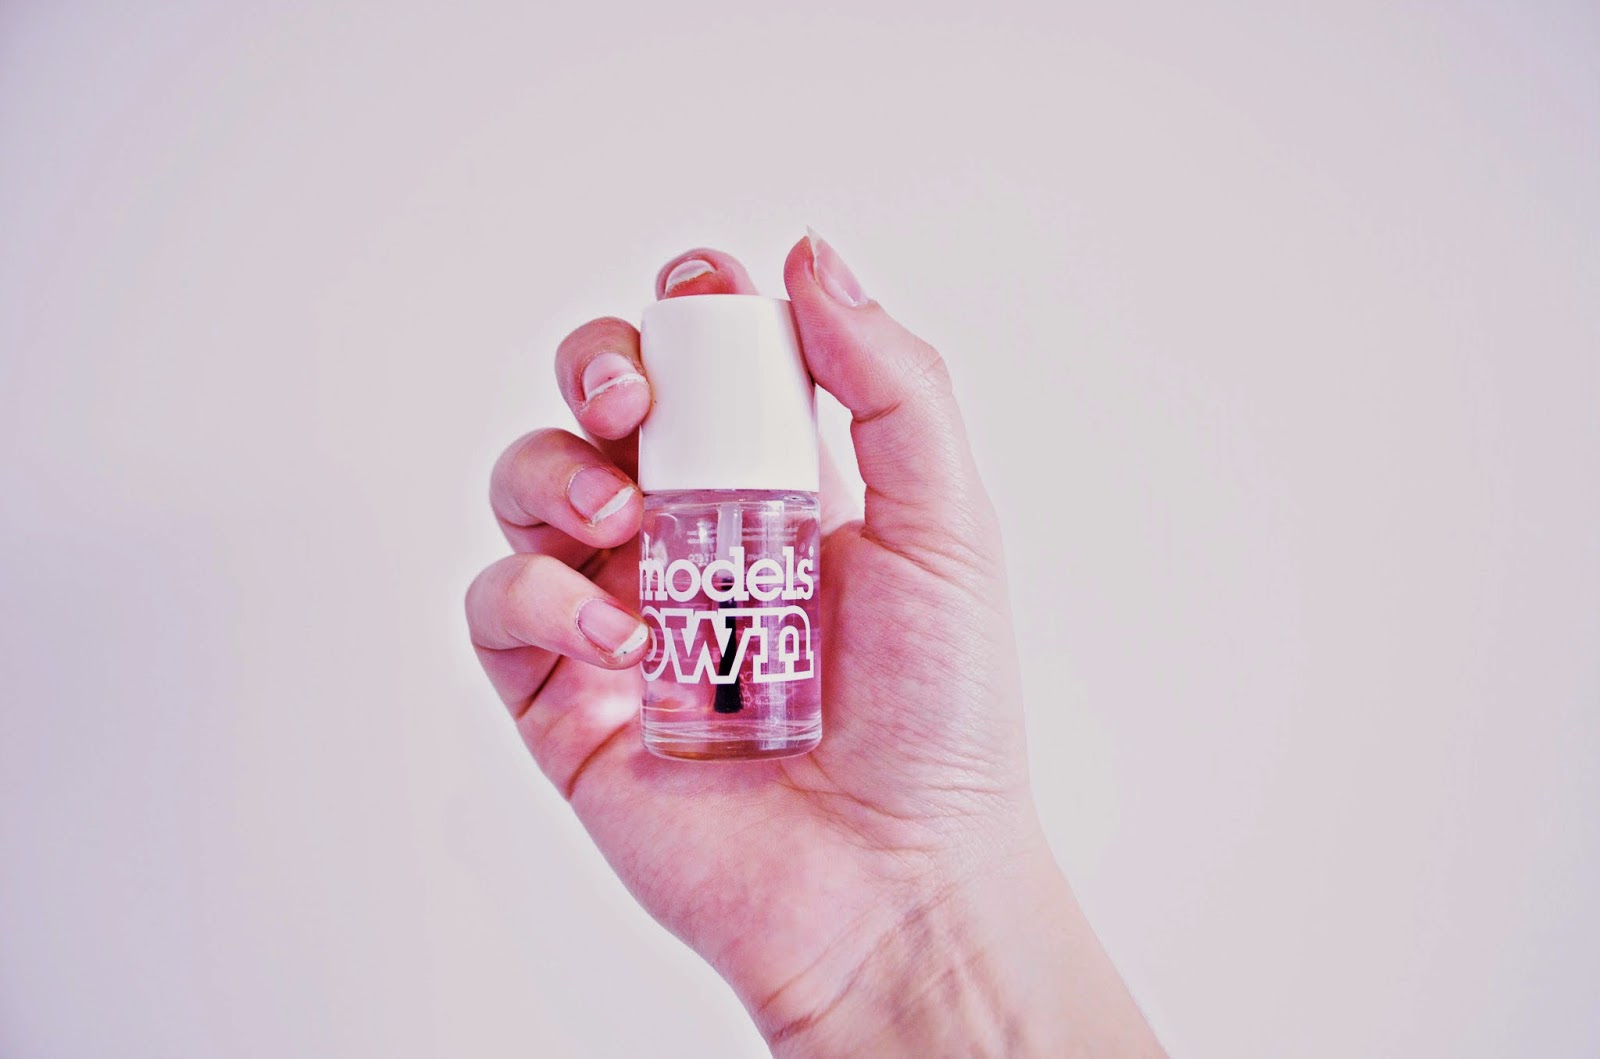
A base and top coat
A varnish colour of your choice
A sequin varnish of your choice
Nail varnish remover
Q Tips (for cleaning up around your nail)


4. Go along the skin around your nails with a Q Tip and nail varnish remover, making sure you've cleaned up any varnish that went out the lines.

5. With your chosen sequin nail varnish (I'm using Topshop's Magpie), scrape the brush down the edge of your nail. Sequins will sit nicely on the edge of your nail. If they come of in big lumps, gently use your brush to slide them along your nail. Don't worry if the distribution of the sequins is inconsistent. You don't want it to look too contrived.
6. When the sequin varnish is dry, go over your entire nail with a top coat.

READ MORE


