Wednesday, 17 December 2014

Belated Blogmas Day 15: Christmas Party Nails


When it comes to getting ready for the Christmas and New Years parties, the dress, hair and make-up top the list of getting-ready priorities. Nails are usually rushed or given the quickest coat of something that'll kind of go with your outfit, whilst hoping they don't smudge as you pull up your tights. 

But your nails can actually be one of the best and yet cheapest accessories to your outfit, and if you do something a little creative with them, you'll be getting compliments left, right and center.  

A lot of nail art out there looks pretty tricky and time consuming, so I've come up with a really quick and easy take on a french mani that requiring you have a sequin varnish, can be adapted to whatever you have in your collection. 


What you'll need: 

A nail file
A base and top coat 
A varnish colour of your choice
A sequin varnish of your choice
Nail varnish remover
Q Tips (for cleaning up around your nail) 


 1. File your nails into your desired shape. I've gone for an exaggerated talon, but this look works well on any nail shape (as long as you have a free edge). 

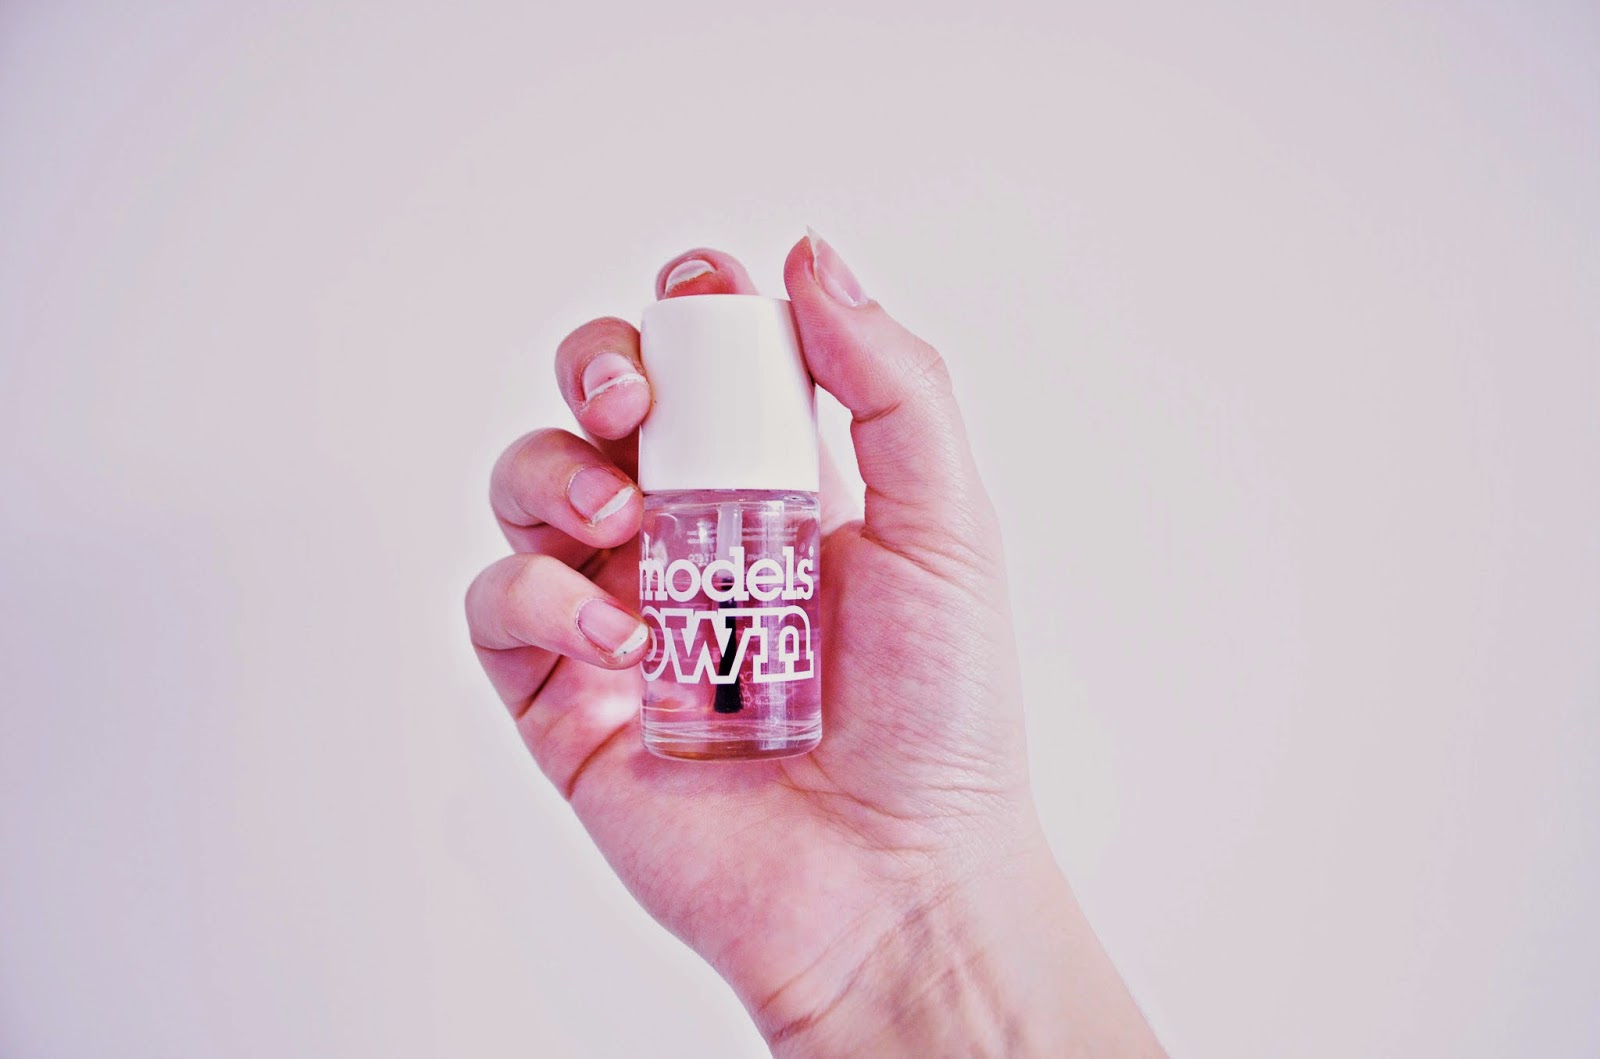
 2. Paint your nails with a base coat. I use Models Own 5 in 1 Top & Base Coat. 


 3. Paint your nails in your chosen colour, doing two coats to for an opaque coat. 

4. Go along the skin around your nails with a Q Tip and nail varnish remover, making sure you've cleaned up any varnish that went out the lines. 


 5. With your chosen sequin nail varnish (I'm using Topshop's Magpie), scrape the brush down the edge of your nail. Sequins will sit nicely on the edge of your nail. If they come of in big lumps, gently use your brush to slide them along your nail. Don't worry if the distribution of the sequins is inconsistent. You don't want it to look too contrived. 

6. When the sequin varnish is dry, go over your entire nail with a top coat. 


 You can really have fun with this, and the colour / sequin combos are endless. 


READ MORE

Wednesday, 3 December 2014

Blogmas Day 3:Budget Christmas Party Make-Up


So it's the most glamorous time of year, with multiple opportunities for us ladies to adorn ourselves head-to-toe in glitter, sequins and bling galore. 

For me, picking out something to wear for work's Christmas party or New Years Eve is the easy part. Make-up is where I usually struggle. Now you may remember a while back I reviewed the MUA Undressed Palette as well as some other MUA products in a haul that I did (which you can read here). 

I waxed lyrical about the MUA palette because at only £4, it's a carbon copy of the Urban Decay Naked Palette in terms of shades, and the pigmentation is dense and rich. 

So I decided to knock up a few eye shadow looks using the palette to give you some budget beauty inspiration. 

You'll notice that the shades actually come in pairs made up of a matte shade and a metallic shade. Each of these looks consist of a pair, with the matte shade covering the lid all the way up to the crease, and the metallic shade blending outwards from the crease up, to create a winged shape. In all of these looks, I have used shade No.1 as a highlighter for just below my brow and the inner corner of my eye. 

Shades 1 & 2


 This is the gentlest of all the looks. Even though I use shade 1 as a highlighter most of the time, it also works really well on the lid, accompanied by shade 2. If you're going for a natural make-up look but want just a little bit of colour and highlighting, these shades are perfect. These icy pinks are great for both day and night winter looks. 

Shades 3 & 4


This is a very gentle combo. I like to think of these shades as rose gold in hue. They add a little bit of warmth and depth to the lid but are at the same time are quite natural in tone. If you've got quite a dramatic outfit, something like this would work really well. 

Shades 5 & 6


Everyone needs a bit of gold on them somewhere at Christmas, and gold make-up can be the perfect sparkly Christmas accessory. These shades are subtle, but work to add a warm glow to your eyes, 

Shades 7 & 8


I like to think of this combo as a bronze smokey eye. Both the matte and the metallic are two differing depths of bronze, and they work so well together. This combo will look amazing on anyone with brown eyes, as it really makes them pop. 

Shades 9 & 10


 I love the pinky metallic with the chocolate brown here. The brown gives depth to the eyelid and the muted pink makes for a good contrast. 

Shades 11 & 12


This look is one of my favourites. The metallic blue gives a nice twist to the smokey eye, and helps to create a defined wing. This is the most dramatic look of them all. This is a statement look, and would work well with a subtle and understated outfit. 


READ MORE